Fixing multiple button presses being detected on IR remote on Linux when using evdev

Or: make your MCE remote work properly again on Kodi after upgrading to Ubuntu 18.04. No LIRC required.

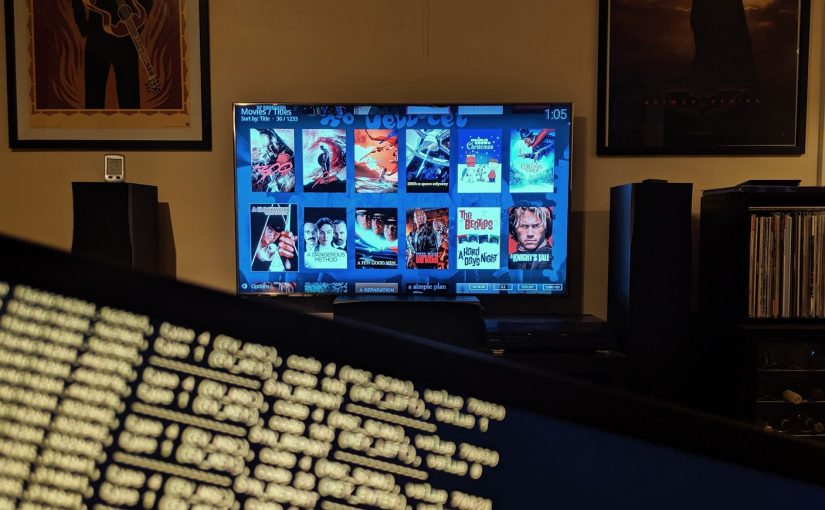
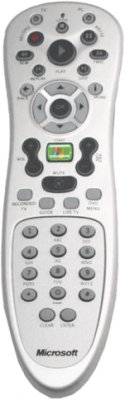
Ever since I upgraded my Kodi box to Ubuntu 18.04, I’ve been having issues with my beloved remote control, the MCE remote from Microsoft. (I’ve had it for years, I have perfect muscle memory for all the buttons. All the most important buttons are within thumb reach.)

My remote, an MCE type 2

First, it wouldn’t work at all, and after some frustrating hours of problem shooting I got it sort-of, kind-of working, but it started repeating button presses, ignoring some buttons and generally being pretty useless. I eventually gave up on using the original IR receiver, and found that if I used a third party IR receiver acting like a HID device, I could tweak the keyboard bindings in Kodi to make it more or less feature complete.

That only left me with one annoyance: some buttons would register double presses. Worse, the all important «OK» button was one of them. Whenever I was navigating through my media, the double click would randomly start a movie I didn’t mean to, go to a season I didn’t intend etc. Changing options was also a big hassle, whenever I tried to toggle subtitles, they would generally un-toggle immediately.

Fortsett å lese Fixing multiple button presses being detected on IR remote on Linux when using evdev

Adding time stamp overlay to video stream using ffmpeg

I’ve been playing around with live streaming from ffmpeg recently, and my latest adventure was to try adding a time stamp to the feed. I searched Google for a solution, but couldn’t find a complete howto, so this is pieced together from information I found found all over the net.

Turns out, all the information you really need to get this working is already in the libavfilter documentation, I just didn’t read it carefully enough.

First of all you need to have a recent build of ffmpeg, with the --enable-libfreetype flag enabled. Just use this excellent howto, and add the flag yourself in the configure-step. You must also make sure to have the libfreetype-dev package installed. This is all provided you use a Debian or Ubuntu based distro, of course.

Once you have built ffmpeg you can check if you have the necessary filter installed with this command:

ffmpeg -filters | grep drawtext

That should print out the following line:

drawtext         Draw text on top of video frames using libfreetype library.

Now you should be able to do something like this:

ffmpeg -f video4linux2 -i /dev/video0 -s 640x480 -r 30 -vf \
"drawtext=fontfile=/usr/share/fonts/truetype/ttf-dejavu/DejaVuSans-Bold.ttf: \
text='\%T': fontcolor=white@0.8: x=7: y=460" -vcodec libx264 -vb 2000k \
-preset ultrafast -f mp4 output.mp4

In short, this sets up capture from v4l2-device /dev/video0 with a framesize of 640×480 in 30 fps (pretty common for older webcams). The -vf is where the filter gets applied. fontfile gives the path to a TTF font, text contains the text we want, in this case we want to expand a strftime() sequence (see man strftime for a full list of parameters). Note the escaping slash in front of the %. Then we set the font color to white, with a 80% opacity. There are many other options, such as fontsize, but I haven’t tried them.

Hope this is useful for someone out there.

Addendum, February 21, 2016

Turns out, this blog post has been dug up by people from time to time, judging from the number of pingbacks it has accumulated over the years. So in case you’re here now: ffmpeg made some changes to how they do text expansion (go figure), and the link to the documentation changed too. Here’s a revised example, using a more modern camera with mjpeg for good measure:

ffmpeg -f video4linux2 -input_format mjpeg -s 1280x720 -i /dev/video0 \
-vf "drawtext=fontfile=/usr/share/fonts/dejavu/DejaVuSans-Bold.ttf: \
text='%{localtime\:%T}': fontcolor=white@0.8: x=7: y=700" -vcodec libx264 \
-preset veryfast -f mp4 -pix_fmt yuv420p -y output.mp4